Fine Art Nudes
HOMEINFORMATION

CREATING A GALLERY WALL

How to Create a Gallery Wall

Welcome to our easy how-to guide on creating a gallery wall!

Have you ever stared at a blank wall, wishing it could reinvent your space and showcase your personality and style? A gallery wall is the perfect solution! It lets you curate a collection of artwork, photos, or sentimental items, transforming a bare space into a visually stunning display.

Our how-to guide helps take the guesswork out of planning, walking you through each step of designing a cohesive, eye-catching, and stylish arrangement that reflects your unique tastes.

Continue scrolling to see just how easy it is to transform your space in a few simple and fun steps!

0
Time to Get Creative!

Curate Your Selection

Browse our site to find the artworks you wish to include in your gallery wall. Our innovative product customization panel will help you find the perfect combination of size, substrate (museum-grade archival paper or gallery-quality canvas), and frame style to perfectly suit your custom layout.
0
The Choice Is Yours

Plan the Layout

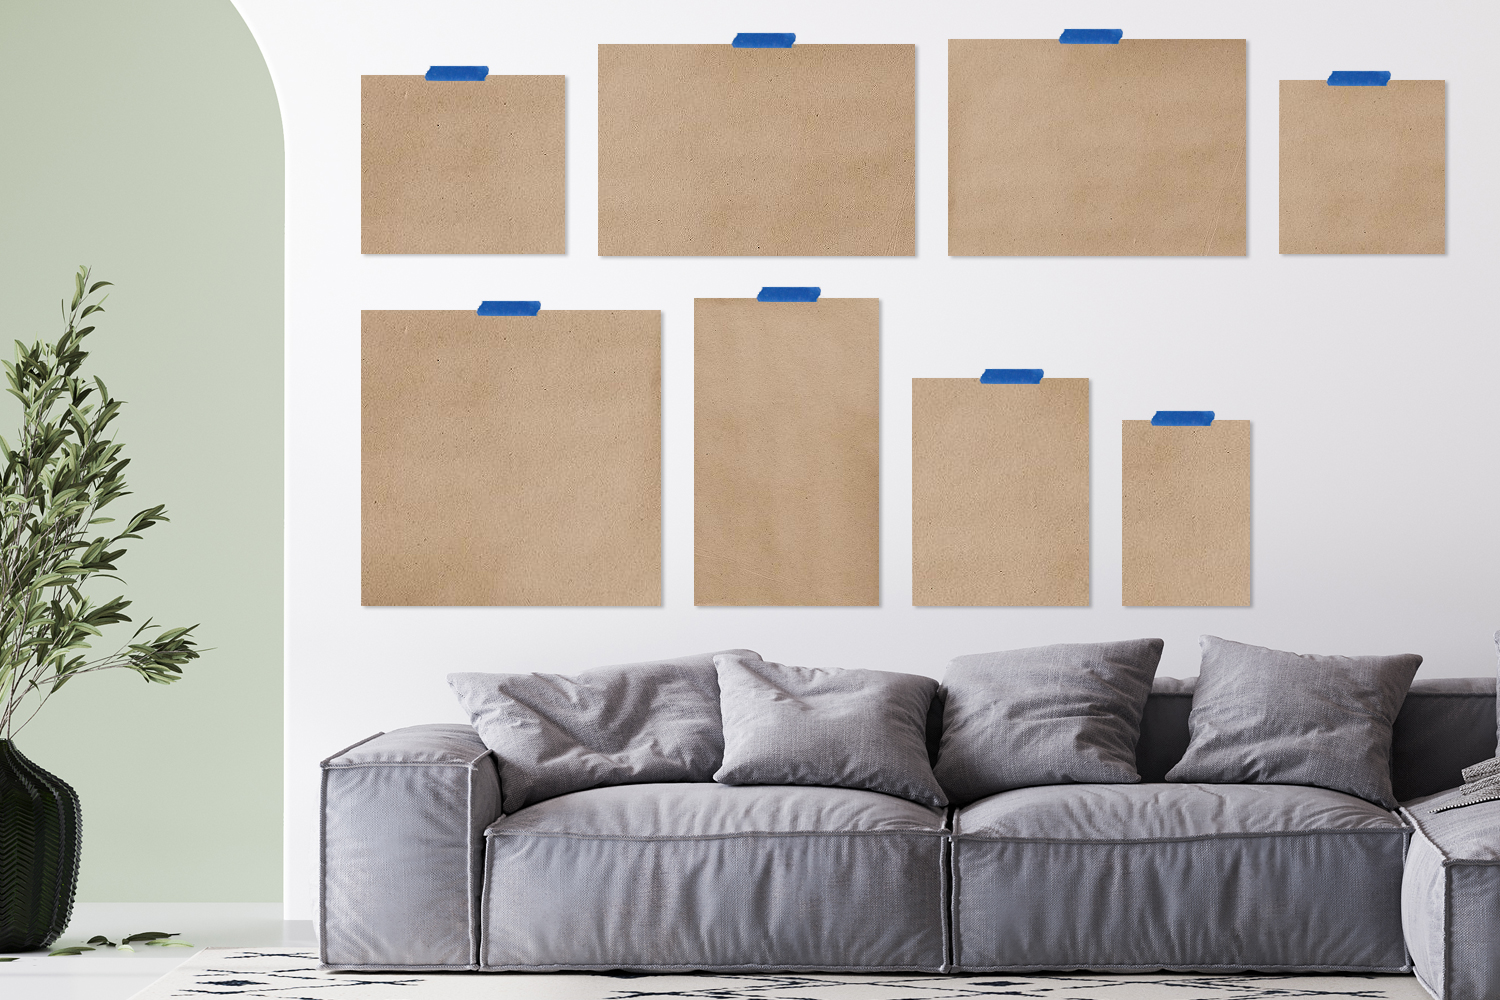
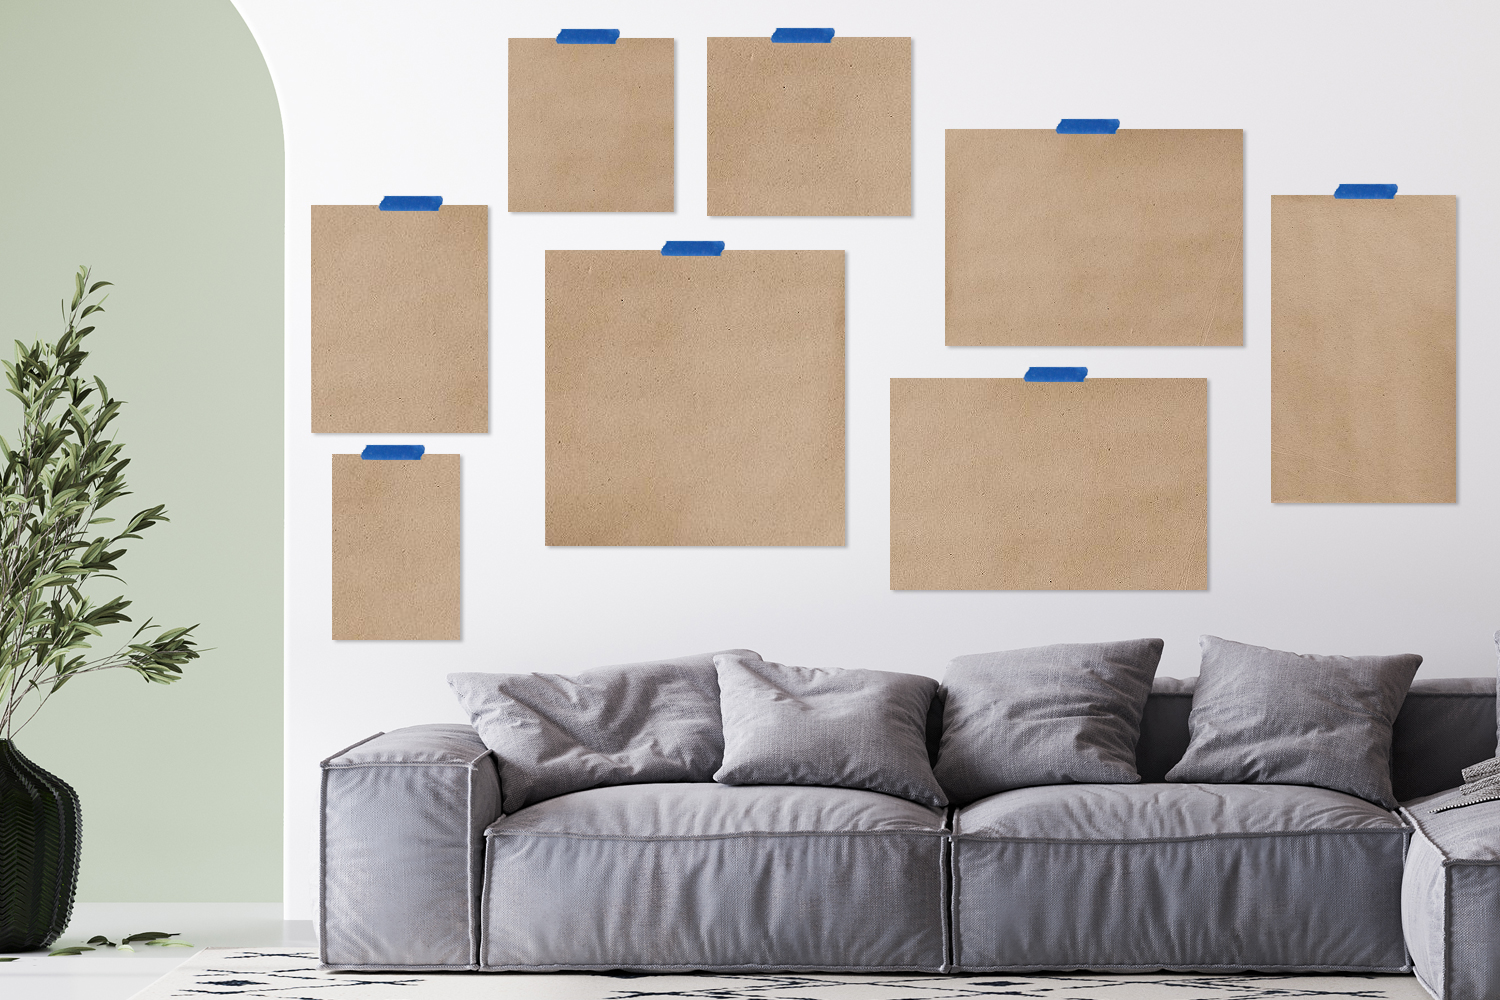
After your custom artwork has been delivered, it's time to plan out the flow of your gallery wall! An easy way to do this is by tracing the artwork over paper, cutting it to match each artwork's overall dimensions. This will give you a straightforward way to play around with the arrangement of your gallery wall before committing to the final layout. Take your time with this step, arranging and re-arranging the layout until it's perfect.
0
Variety Is Key

Create a Balanced Composition

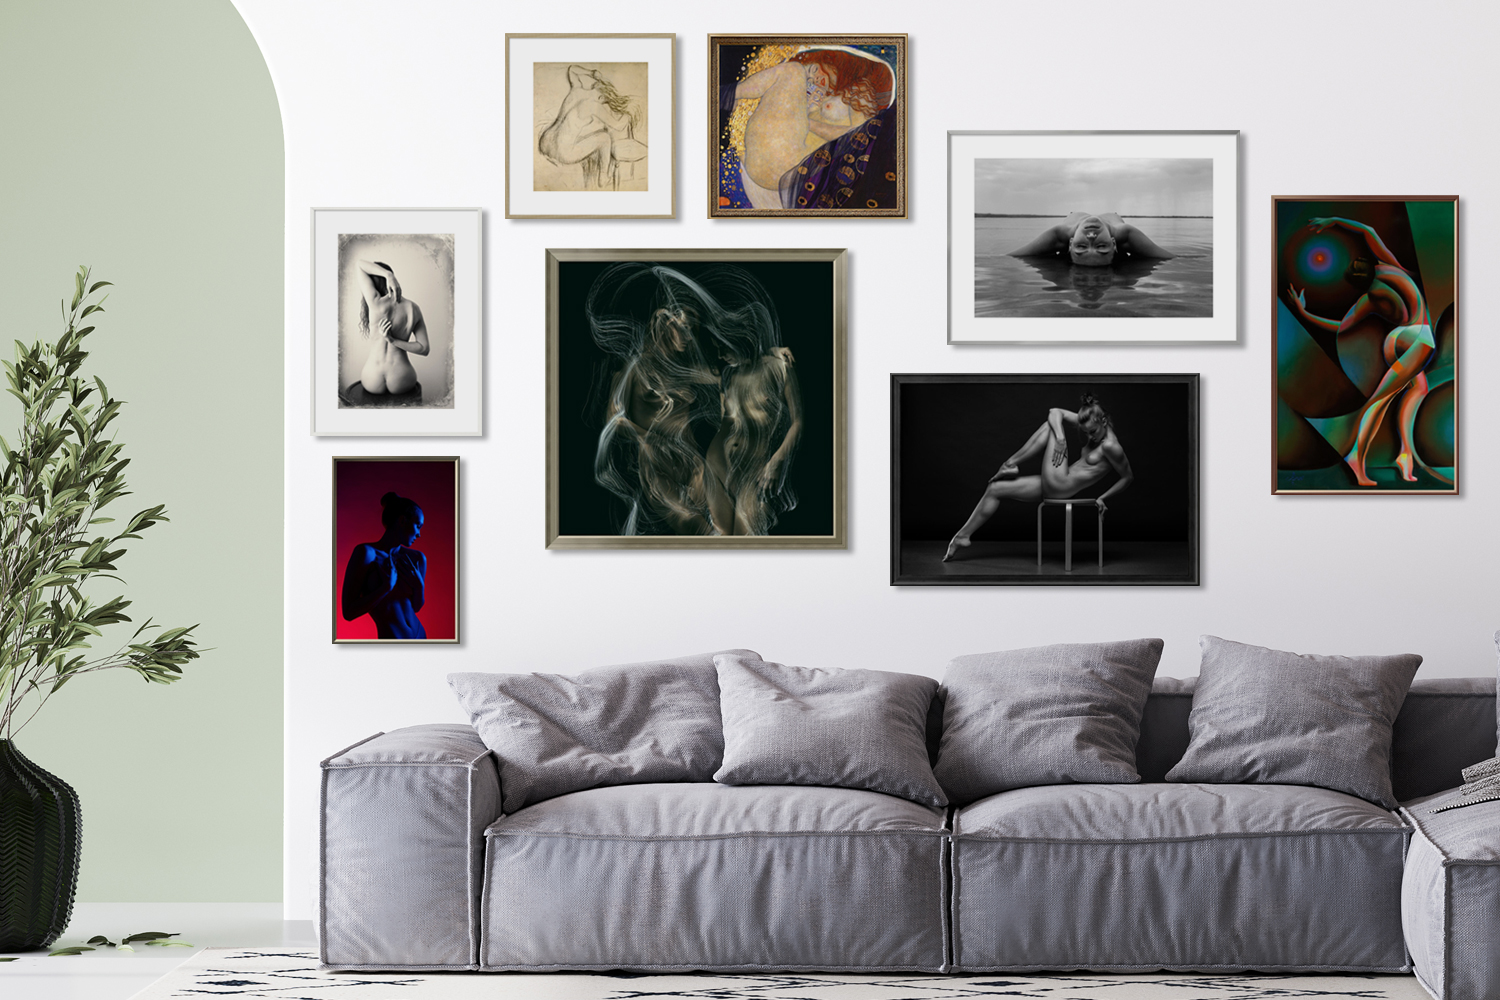
There's no one-size-fits-all answer, but in general, a variety of sizes, shapes, and frame styles result in the most dynamic gallery walls. The most pleasing layouts usually do not line up neatly; instead, consider an asymmetrical swirl or spiraling design over a grid-like, symmetrical look. Also consider hanging larger pieces in the center or at eye-level, with smaller artworks radiating outward.
0
No Assembly Required

Hang Your Artwork

All of our products ship fully assembled and ready-to-hang, making this final step as easy as possible! Using a hammer, simply secure nails to the wall at the top of each artwork's center point. Be sure to account for the bend in the wire, where applicable, when marking where to place the nails. Carefully hang your new art piece by piece until your gallery wall comes to life!